
- October 2, 2023
- Posted by: SouTech Team
- Category: Blog, CEH
Sure, here is a step-by-step guide on how to install Kali Linux in VMware on a Windows computer:
Prerequisites:
- A Windows computer with VMware Workstation (or VMware Player) installed.
- The Kali Linux ISO image, which you can download from the official Kali Linux website (https://www.kali.org/downloads/). Choose the appropriate version (e.g., 64-bit ISO).
Step 1: Download and Install VMware Workstation/Player: If you haven’t already, download and install VMware Workstation or VMware Player on your Windows computer. You can download VMware Workstation from the VMware website (https://www.vmware.com/products/workstation.html). VMware Player is available for free from the same site.
Step 2: Launch VMware: Open VMware Workstation or VMware Player on your Windows computer.
Step 3: Create a New Virtual Machine: Click on “File” and then select “New Virtual Machine” to start the New Virtual Machine Wizard.
Step 4: Choose the Installation Type: Select “Typical” and click “Next.”
Step 5: Locate the Installer Disc Image File: Select “Installer disc image file (iso)” and browse to the location where you saved the Kali Linux ISO image that you downloaded earlier. Then click “Next.”
Step 6: Choose Guest Operating System: In the Guest Operating System section, select “Linux” and in the Version section, choose “Debian 10.x 64-bit” (Kali Linux is based on Debian). Click “Next.”
Step 7: Name and Specify Location: Choose a name for your virtual machine and specify the location where you want to store it. Click “Next.”
Step 8: Specify Disk Capacity: Allocate the amount of disk space you want to assign to your Kali Linux virtual machine. It is recommended to allocate at least 20GB or more. Choose “Store virtual disk as a single file” and click “Next.”
Step 9: Ready to Create Virtual Machine: Review the settings you’ve configured for the virtual machine. If everything looks good, click “Finish” to create the virtual machine.
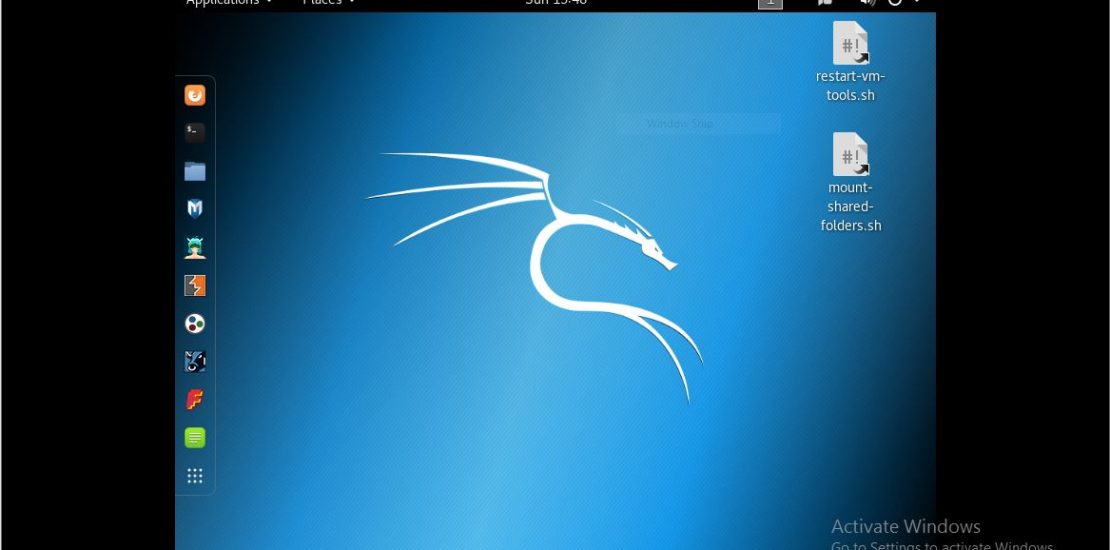
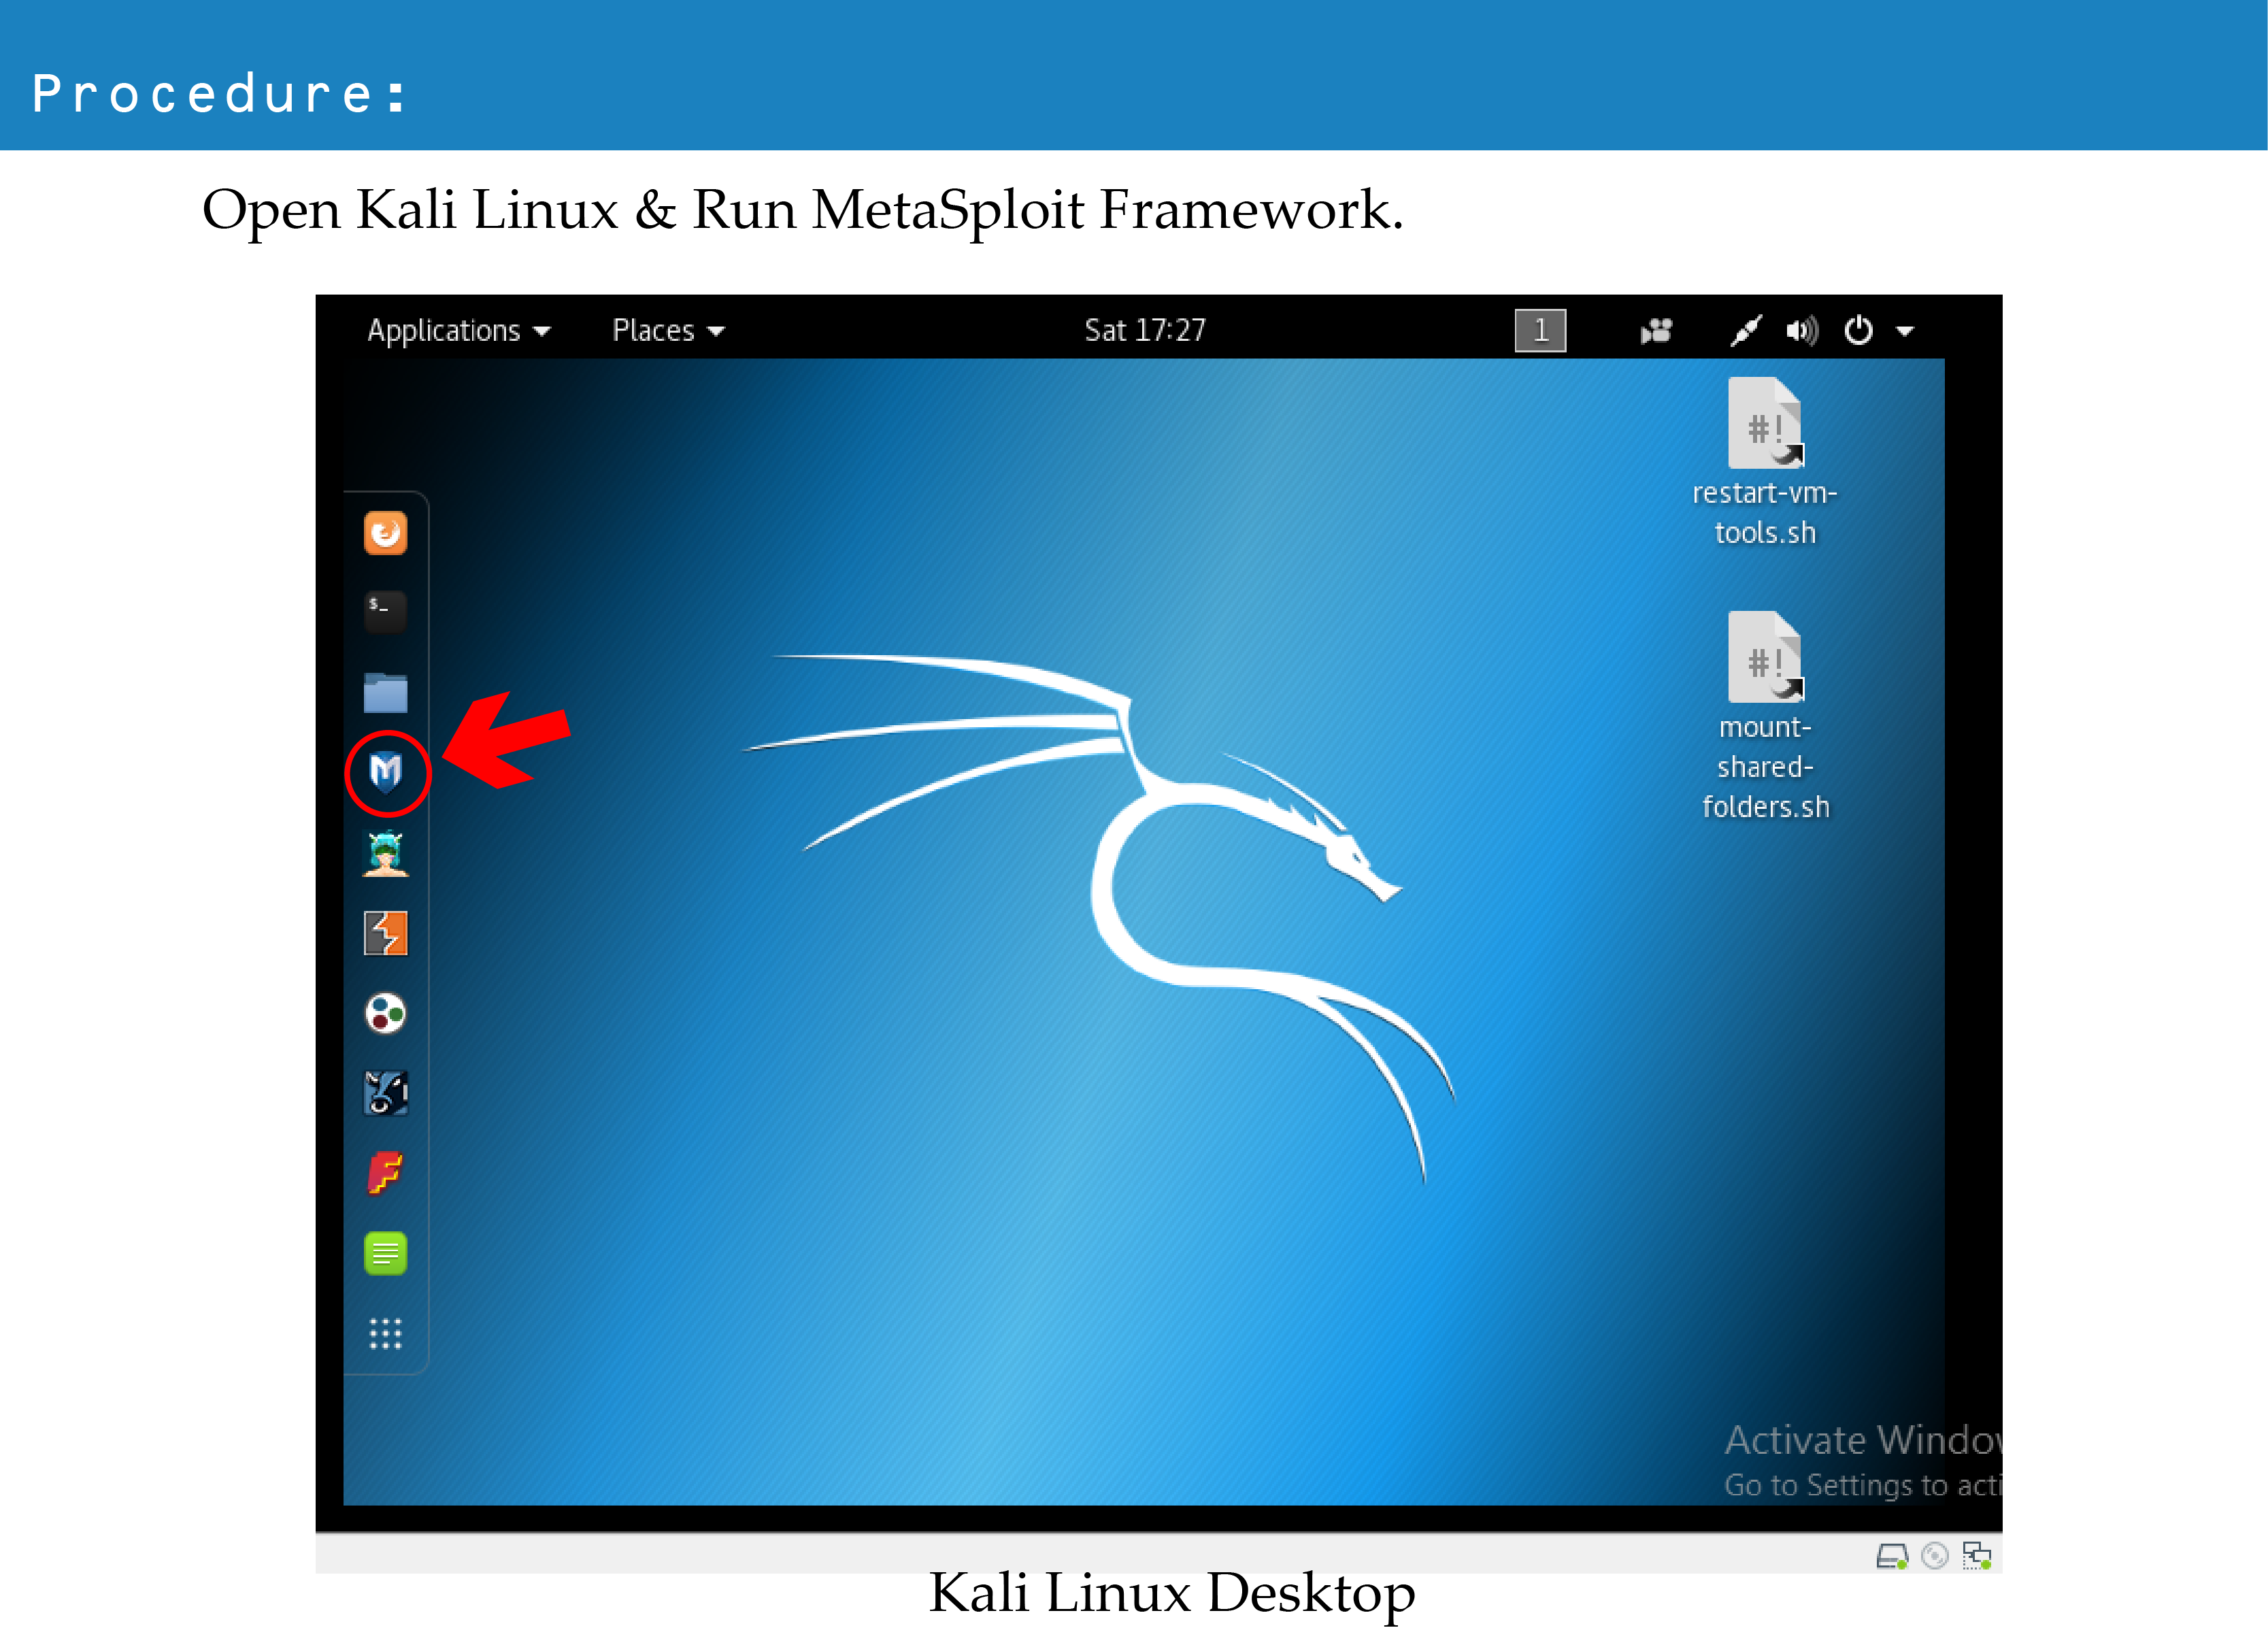
Step 10: Configure Kali Linux Installation: After creating the virtual machine, it will appear in your VMware interface. Select it and click “Play virtual machine” to start it.
Step 11: Install Kali Linux: Follow the on-screen instructions to install Kali Linux. You’ll need to choose your language, location, keyboard layout, and create a user account during the installation process.
Step 12: Complete Installation: Once the installation is complete, the virtual machine will restart. Log in with the user account you created during the installation.
Step 13: Install VMware Tools (Optional): To improve integration and performance, you can install VMware Tools. In the VMware Workstation or Player menu, go to “VM” and select “Install VMware Tools.” Follow the instructions provided.
That’s it! You now have Kali Linux installed in VMware on your Windows computer. You can start using Kali Linux within the virtual machine to perform various security testing and penetration testing tasks.
Virtualization, VMware Workstation, Kali Linux Installation, Guest Operating System, Virtual Machine Configuration, ISO Image, Disk Allocation, VMware Tools , Penetration Testing, Security Testing
Related posts:
 How to Install Kali Linux on VMware VM : Cyber Security Training Programs Abuja Nigeria
 Wireshark step by step guide for beginners
 CISCO CyberOps lab – Installing the Virtual Machines : cybersecurity training
 Top 100 Kali Linux Commands and How to use them: Cyber Security Training in Nigeria
 How To Make Your Own Bar Code in Photoshop- Step by Step Guide