- March 13, 2019
- Posted by: SouTech Team
- Category: Graphics and Branding

Step 1
Scroll to menu bar and click on “File” and click “New.” Choose a size for your work space canvas. Then, go to the Layer panel and click on the “New Layer” icon or click on Shift+Ctrl+N.
Step 2
Then, go to the Toolbox by the left-side of your work space, then the “Shapes” tool, and select “Line tool.” Hold down the shift key and draw one short line to get a straight 90, 45, 180 angle edge.
Step 3
Now go to “Filter” from the menu bar and select “Noise” from the drop-down options and click “Add Noise.” Now make the “Amount” setting 150.
Step 4
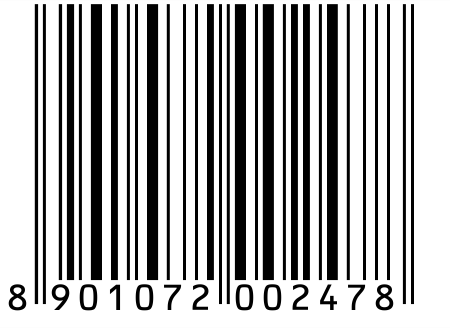
Go to “Edit,” then “Transform,” and click on “Scale.” Then drag up the middle handle to raise the height to get the bars part of your bar code. Adjust the height to your preference.
Step 5
Go to the toolbox, and under the bar lines you just created, use the Type Tool to type in your preferred numbers or text which would serve as your bar code.
Click to start learning while you earn and grow…


