
- October 2, 2023
- Posted by: SouTech Team
- Category: Blog, CEH
Here’s a step-by-step guide on how to install Kali Linux in Oracle VirtualBox on a Windows computer:
Prerequisites:
- A Windows computer with Oracle VirtualBox installed.
- The Kali Linux ISO image, which you can download from the official Kali Linux website (https://www.kali.org/downloads/). Choose the appropriate version (e.g., 64-bit ISO).
Step 1: Download and Install Oracle VirtualBox: If you haven’t already, download and install Oracle VirtualBox on your Windows computer. You can download VirtualBox from the official Oracle website (https://www.virtualbox.org/).
Step 2: Launch VirtualBox: Open Oracle VirtualBox on your Windows computer.
Step 3: Create a New Virtual Machine: Click on the “New” button to create a new virtual machine.
Step 4: Configure Virtual Machine Settings: Follow these configurations in the New Virtual Machine Wizard:
- Name and Operating System: Give your virtual machine a name (e.g., “Kali Linux”).
- Type: Select “Linux.”
- Version: Choose “Debian (64-bit)” since Kali Linux is based on Debian.
Click “Next” to continue.
Step 5: Allocate Memory (RAM): Choose the amount of RAM you want to allocate to your Kali Linux virtual machine. It’s recommended to allocate at least 2GB or more if your system allows. Click “Next.”
Step 6: Create a Virtual Hard Disk: Create a new virtual hard disk by selecting “Create a virtual hard disk now” and click “Create.”
Step 7: Choose Hard Disk File Type: Select “VDI (VirtualBox Disk Image)” and click “Next.”
Step 8: Storage on Physical Hard Disk: Choose “Dynamically allocated” and click “Next.”
Step 9: Specify Disk File Location and Size: Specify the location where you want to store the virtual hard disk file and choose its size. Allocate at least 20GB or more, and then click “Create.”
Step 10: Configure Virtual Machine Settings: In the VirtualBox Manager, select your newly created virtual machine, then click “Settings.”
Step 11: Attach Kali Linux ISO: In the settings window, go to “Storage.” Under the “Controller: IDE” section, click on the empty optical drive and select “Choose/Create a Disk File.” Browse to the Kali Linux ISO image you downloaded earlier and click “Open.”
Step 12: Start the Kali Linux Installation: Click “OK” to save the settings. Then, select your virtual machine and click the “Start” button to boot from the Kali Linux ISO.
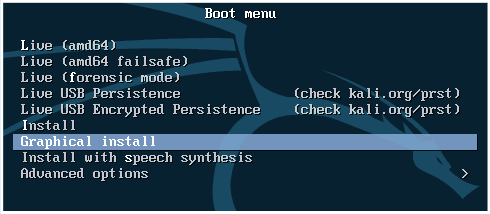
Step 13: Install Kali Linux: Follow the on-screen instructions to install Kali Linux. You’ll need to choose your language, location, keyboard layout, and create a user account during the installation process.
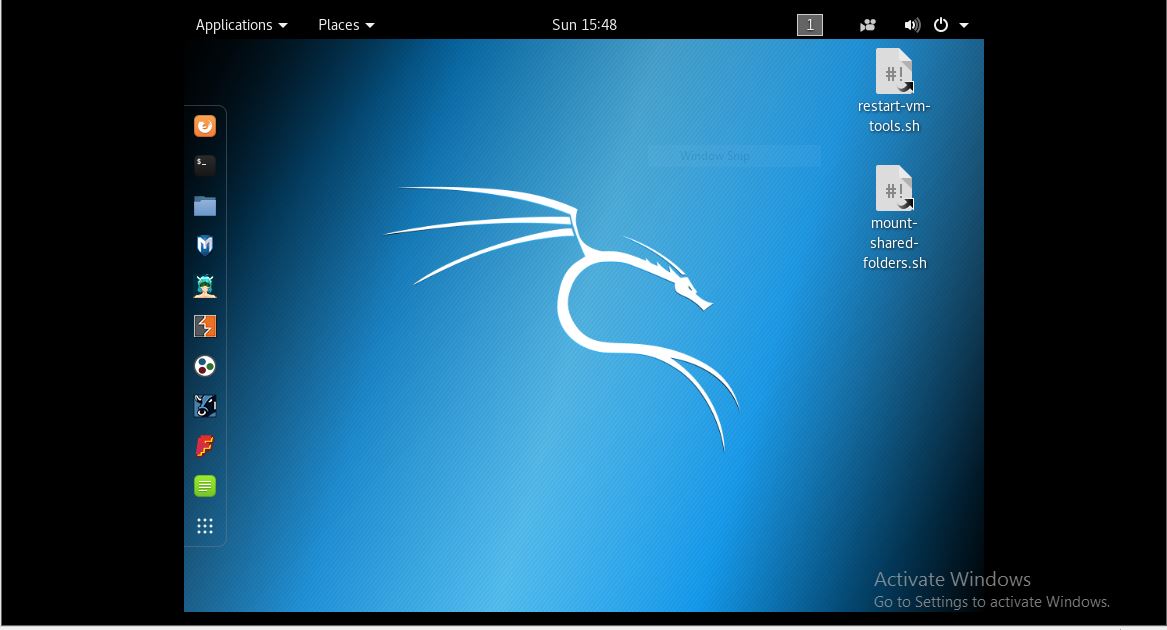
Step 14: Complete Installation: Once the installation is complete, the virtual machine will restart. Log in with the user account you created during the installation.
That’s it! You now have Kali Linux installed in Oracle VirtualBox on your Windows computer. You can start using Kali Linux within the virtual machine for various security testing and penetration testing tasks.
Virtualization, VMware Workstation, Kali Linux Installation, Guest Operating System, Virtual Machine Configuration, ISO Image, Disk Allocation, VMware Tools , Penetration Testing, Security Testing
Related posts:
 How to install Kali Linux in VMware on a Windows computer: Step by Step Guide
 How to install Kali Linux in VMware on a Mac computer: Step by step guide
 How to Install Kali Linux on VMware VM : Cyber Security Training Programs Abuja Nigeria
 CISCO CyberOps lab – Installing the Virtual Machines : cybersecurity training
 Wireshark step by step guide for beginners