
- October 2, 2023
- Posted by: SouTech Team
- Category: Blog, Others
Installing Kali Linux as a host operating system on a PC is a more advanced and unconventional setup, as Kali Linux is typically used as a penetration testing and security assessment tool in a virtualized environment. However, if you want to use it as your primary OS, you can follow these steps. Please note that this process involves overwriting your existing operating system, and you should back up your data before proceeding.
Important:
- Backup your data: Before proceeding, make sure to back up all your important data, as this process will erase your current operating system and data.
Step 1: Download Kali Linux:
- Visit the official Kali Linux website (https://www.kali.org/downloads/) and download the Kali Linux ISO image suitable for your PC architecture (32-bit or 64-bit).
Step 2: Create a Bootable USB Drive:
- Use a tool like Rufus (Windows) or Etcher (macOS and Linux) to create a bootable USB drive from the Kali Linux ISO. Insert the USB drive into your PC.
Step 3: Boot from the USB Drive:
- Restart your PC and boot from the Kali Linux USB drive. Most PCs allow you to access the boot menu by pressing a specific key during startup (e.g., F12 or ESC).
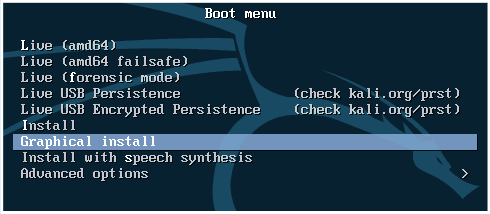
Step 4: Start Kali Linux Installation:
- When the Kali Linux boot menu appears, select the “Graphical Install” option and press Enter.
Step 5: Choose Language and Location:
- Select your language, location, and keyboard layout when prompted.
Step 6: Configure Network:
- Configure your network settings as needed.
Step 7: Set Hostname:
- Provide a hostname for your PC.
Step 8: Create a User:
- Create a user account, set a strong password, and specify other user details.
Step 9: Partition Disk:
- Choose “Guided – use the entire disk” if you want to use the entire disk for Kali Linux. Alternatively, you can choose manual partitioning if you want more control over partitioning.
Step 10: Install GRUB Boot Loader:
- Install the GRUB boot loader to the Master Boot Record (MBR) of your hard drive.
Step 11: Complete Installation:
- Wait for the installation to complete. Once done, remove the installation media (USB drive) and press Enter to reboot your PC.
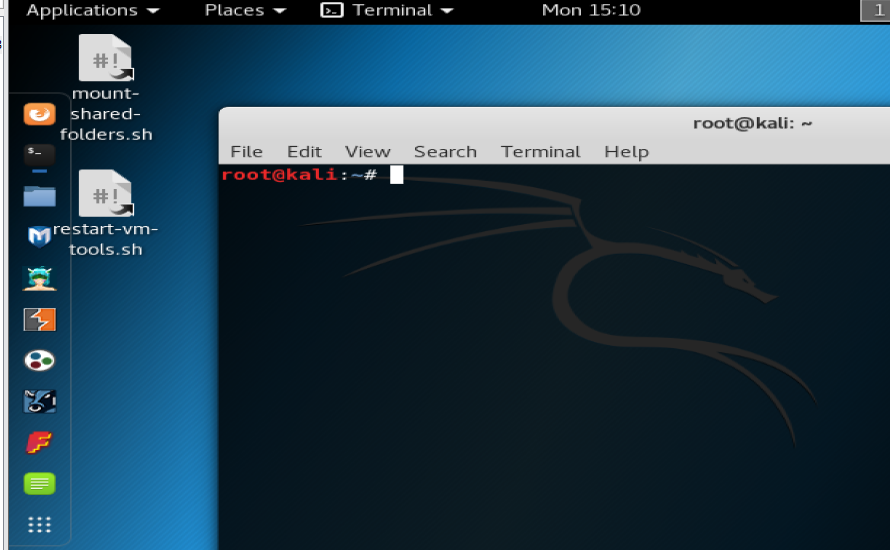
Step 12: Boot into Kali Linux:
- Your PC should now boot into Kali Linux as the host operating system.
Step 13: Update and Install Software:
- After booting into Kali Linux, open a terminal and run the following commands to update and upgrade the system:
sudo apt update
sudo apt upgrade
Step 14: Install Additional Tools (Optional):
- You can install additional tools and packages as needed for your specific use case.
Please be aware that using Kali Linux as a host OS is not recommended for general-purpose computing due to its specialized nature as a security testing and penetration testing platform. If you require both Kali Linux and another operating system on your PC, it’s usually better to set up a dual-boot configuration or use a virtual machine for Kali Linux.
—
Installation Procedure, Bootable USB, Kali Linux Download, Dual-Boot Setup, Host Operating System, PC Installation for Kali, Kali Bootable Media, Partitioning Disk Kali Linux Tutorial, GRUB Boot Loader Kali Linux Guide. System Update and Upgrade Kali Linux Training
Related posts:
 How to install Kali Linux in Oracle VirtualBox on a Windows computer: Step by Step Guide
 How to install Kali Linux in VMware on a Windows computer: Step by Step Guide
 How to install Kali Linux in VMware on a Mac computer: Step by step guide
 How to Install Kali Linux on VMware VM : Cyber Security Training Programs Abuja Nigeria
 Wireshark step by step guide for beginners